LO 2
Brand book
What did I do
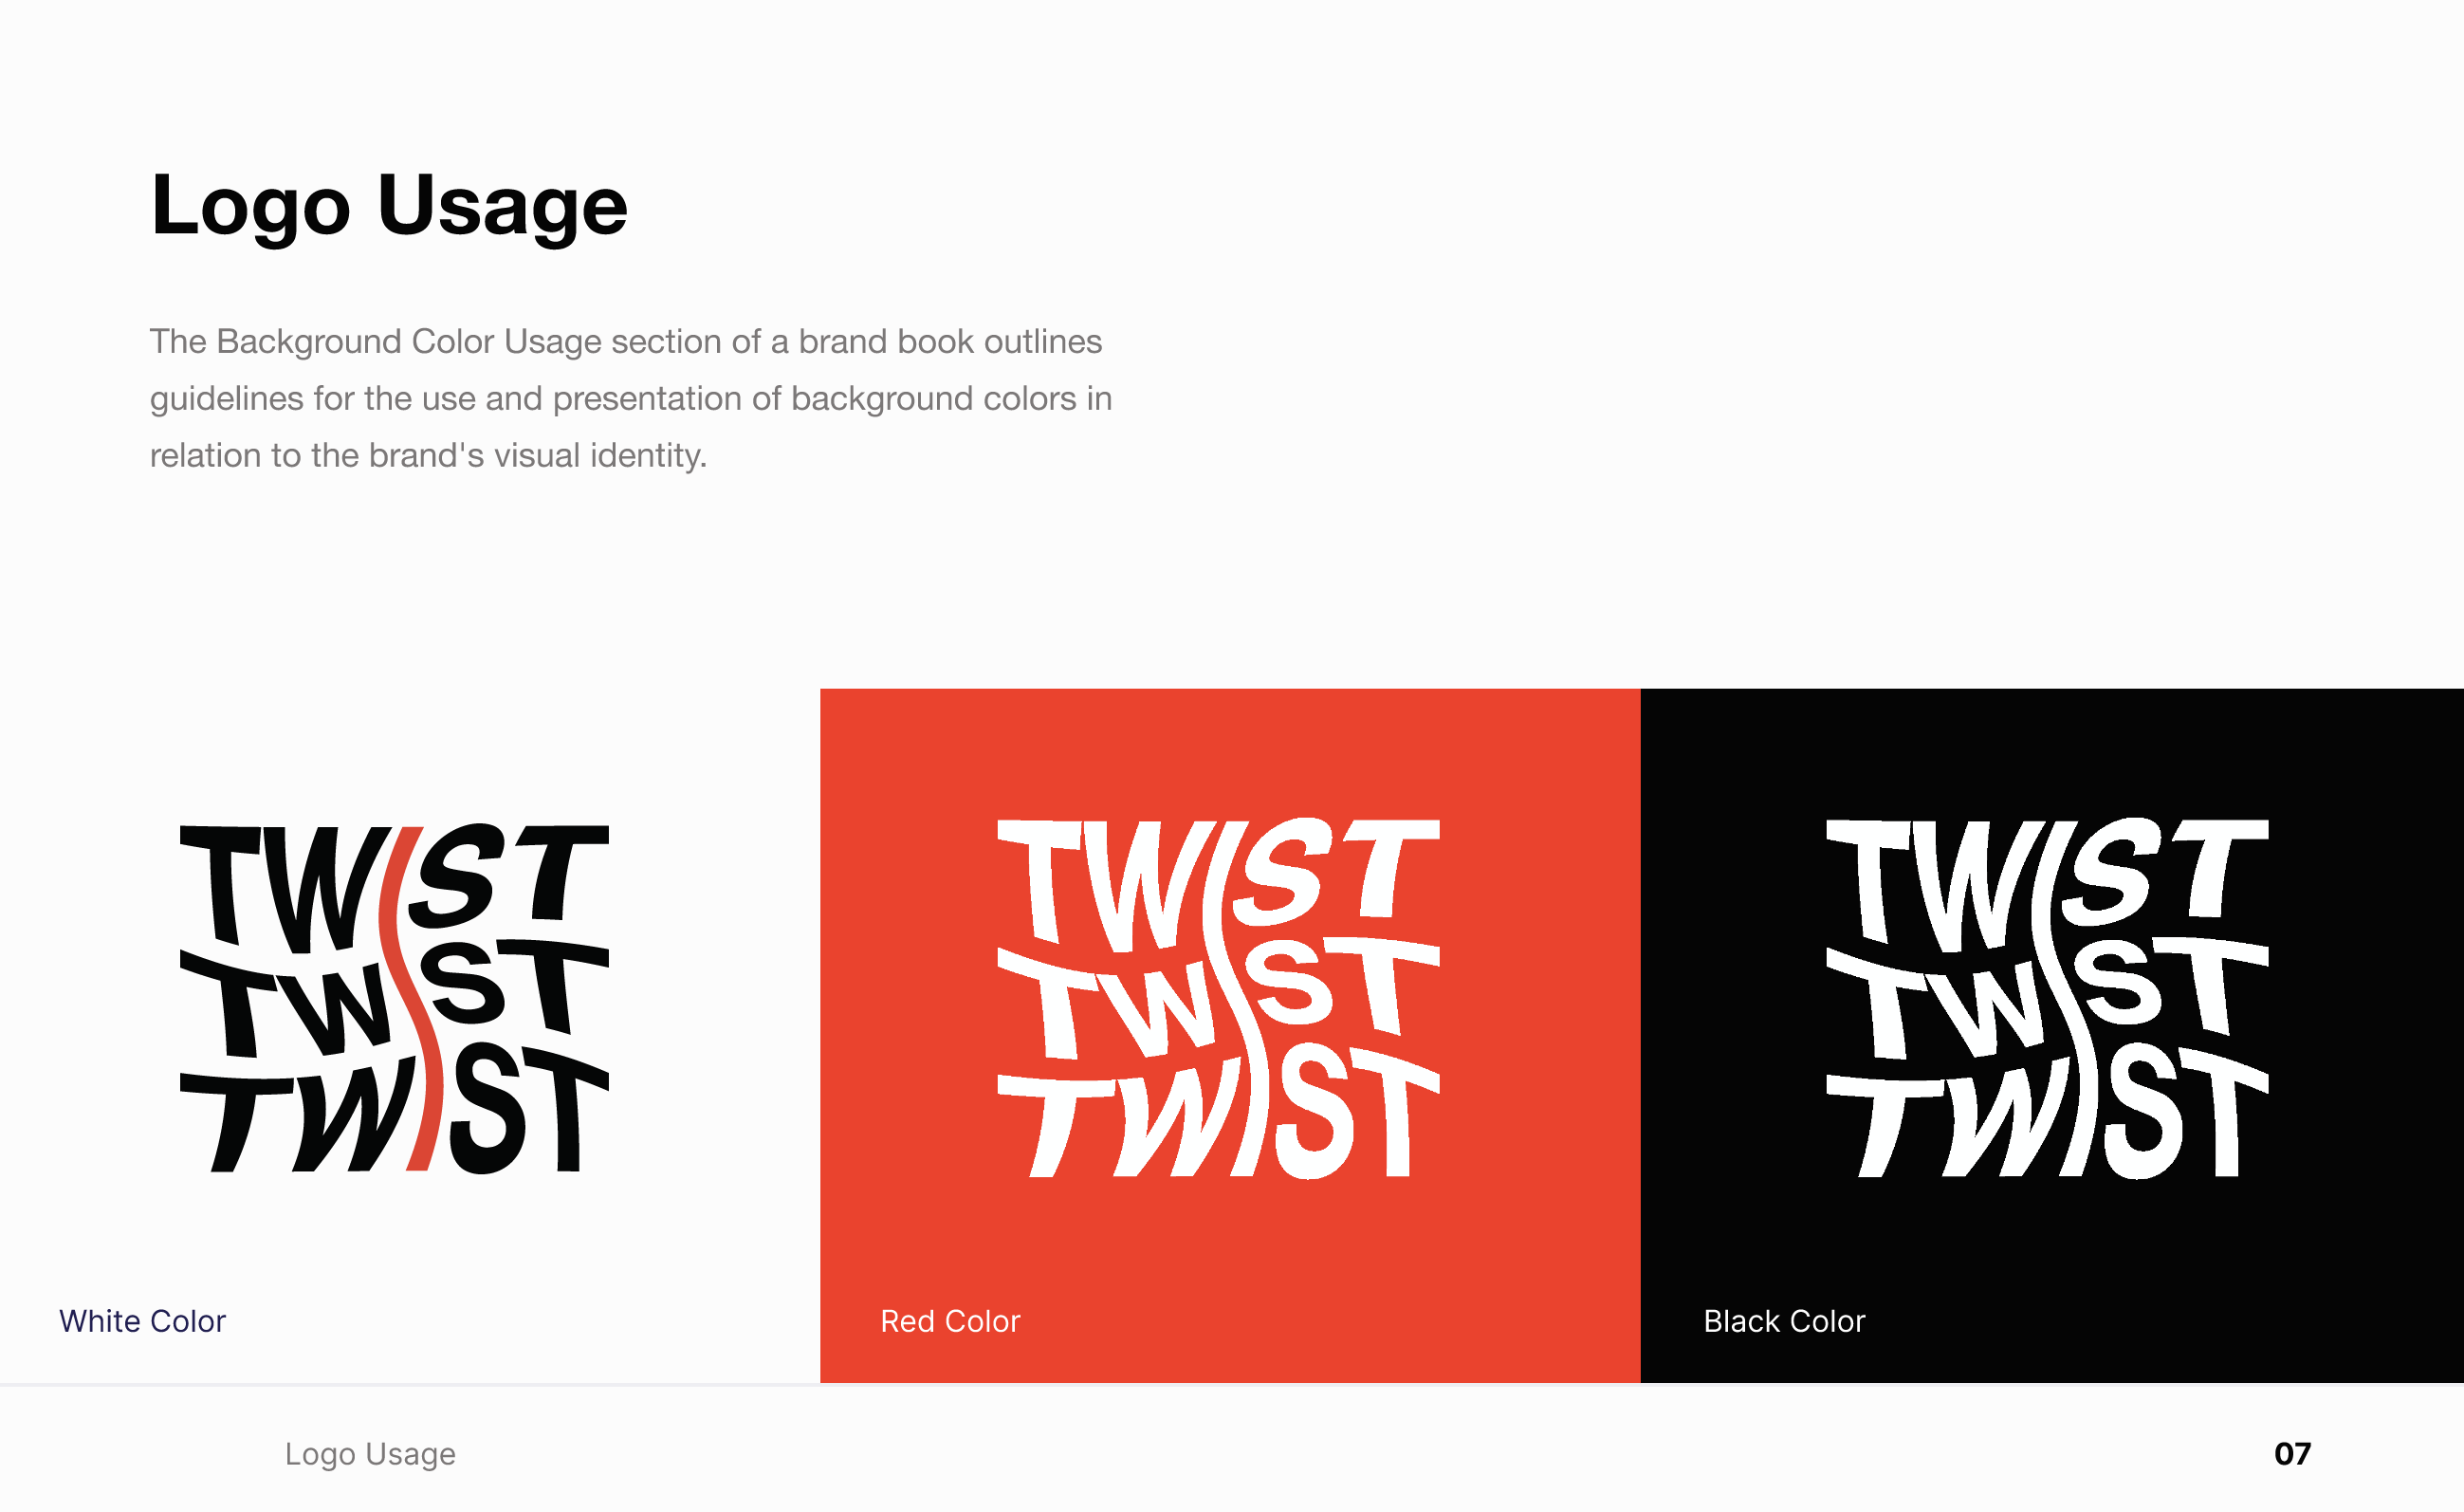
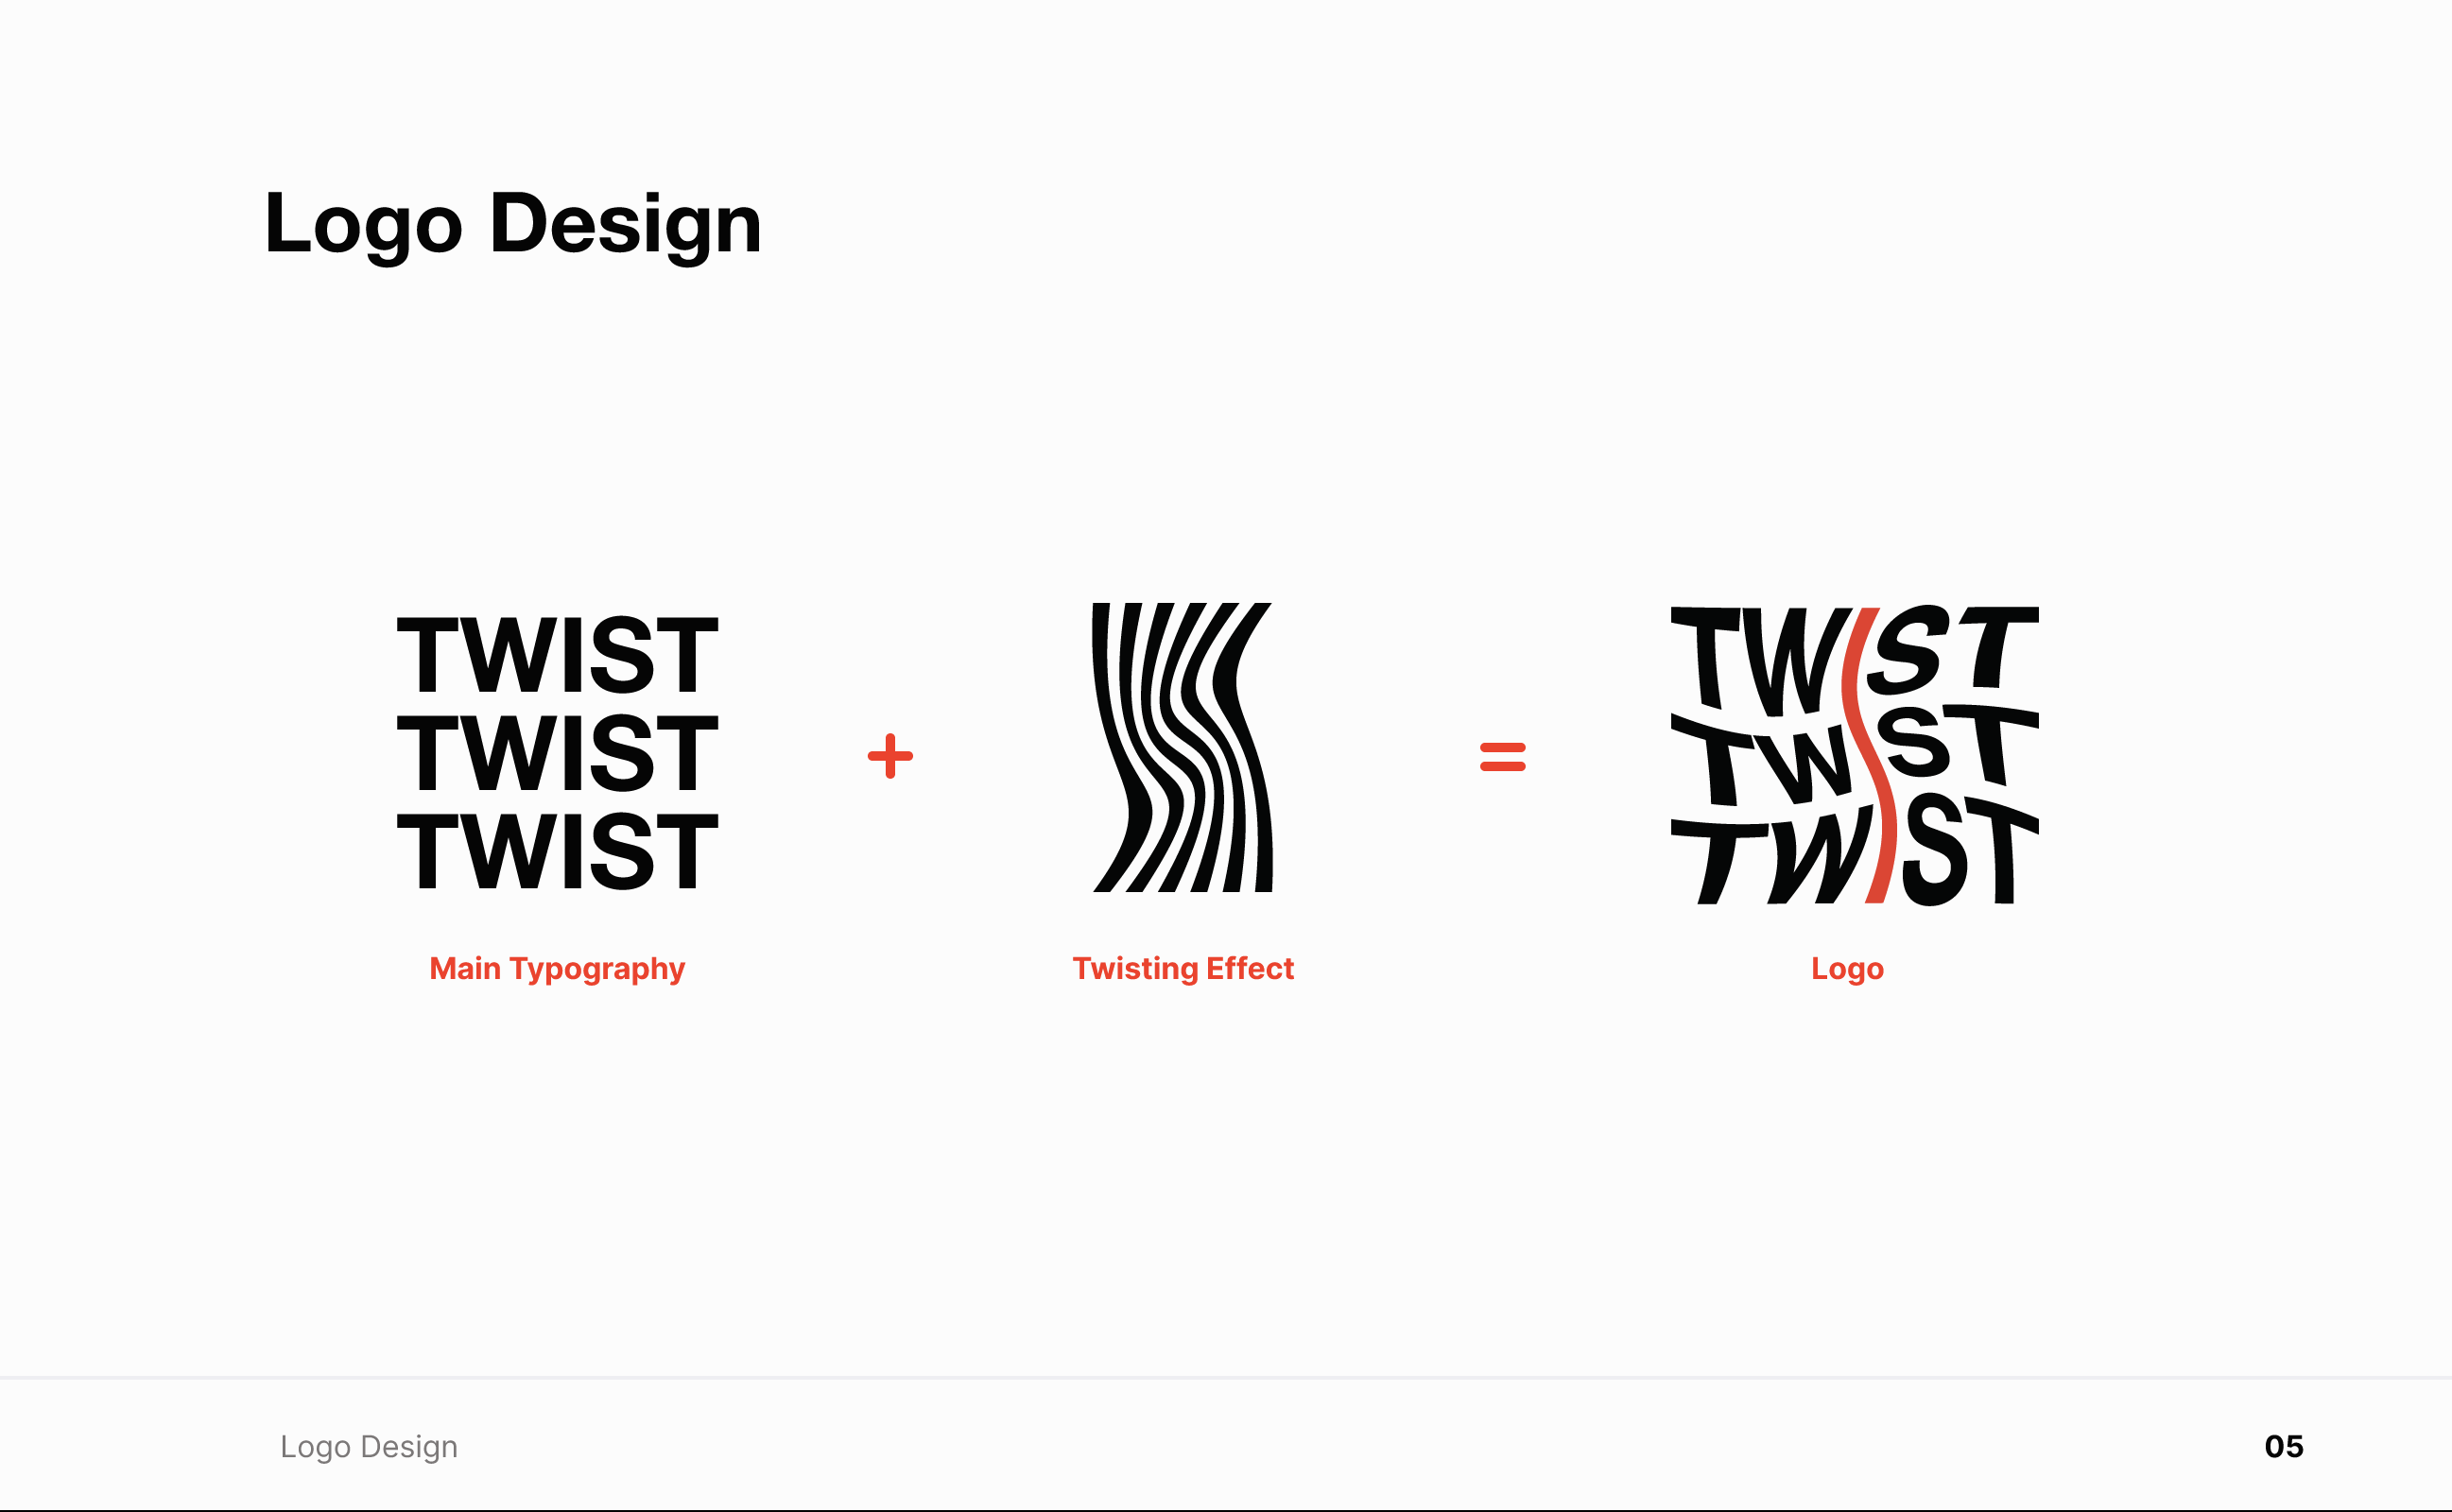
I created the brandbook for our group in Figma, using a template to keep the layout clear and efficient. I followed our visual style and included sections on logo usage, typography, and colours. I also explained how the logo was developed and added guidelines for correct and incorrect use.
How did it go
The process went smoothly, and the template helped me organise everything clearly. I focused on making the content understandable for someone new, so they could easily pick up our visual rules. I paid close attention to consistency across pages and kept the language straightforward.
What did I learn
I learned how important it is to present design rules in a way that’s both structured and accessible. Creating the brandbook made me more aware of how to communicate design decisions visually and verbally. It also improved my workflow in Figma by working with templates.
Link for Brandbook (https://www.figma.com/design/3DZC8PmijIdAtOsZOwcO8x/Brandbook-TTTwist?node-id=0-1&t=GB9IHCy0w3B201kU-1 )
Retrospective
If I were to do it again, I’d ask the team for feedback earlier in the process to better align the content with everyone’s expectations. Adding example mockups could also make the brand guidelines more practical and easier to apply in real projects.
Git for portfolio
What did I do
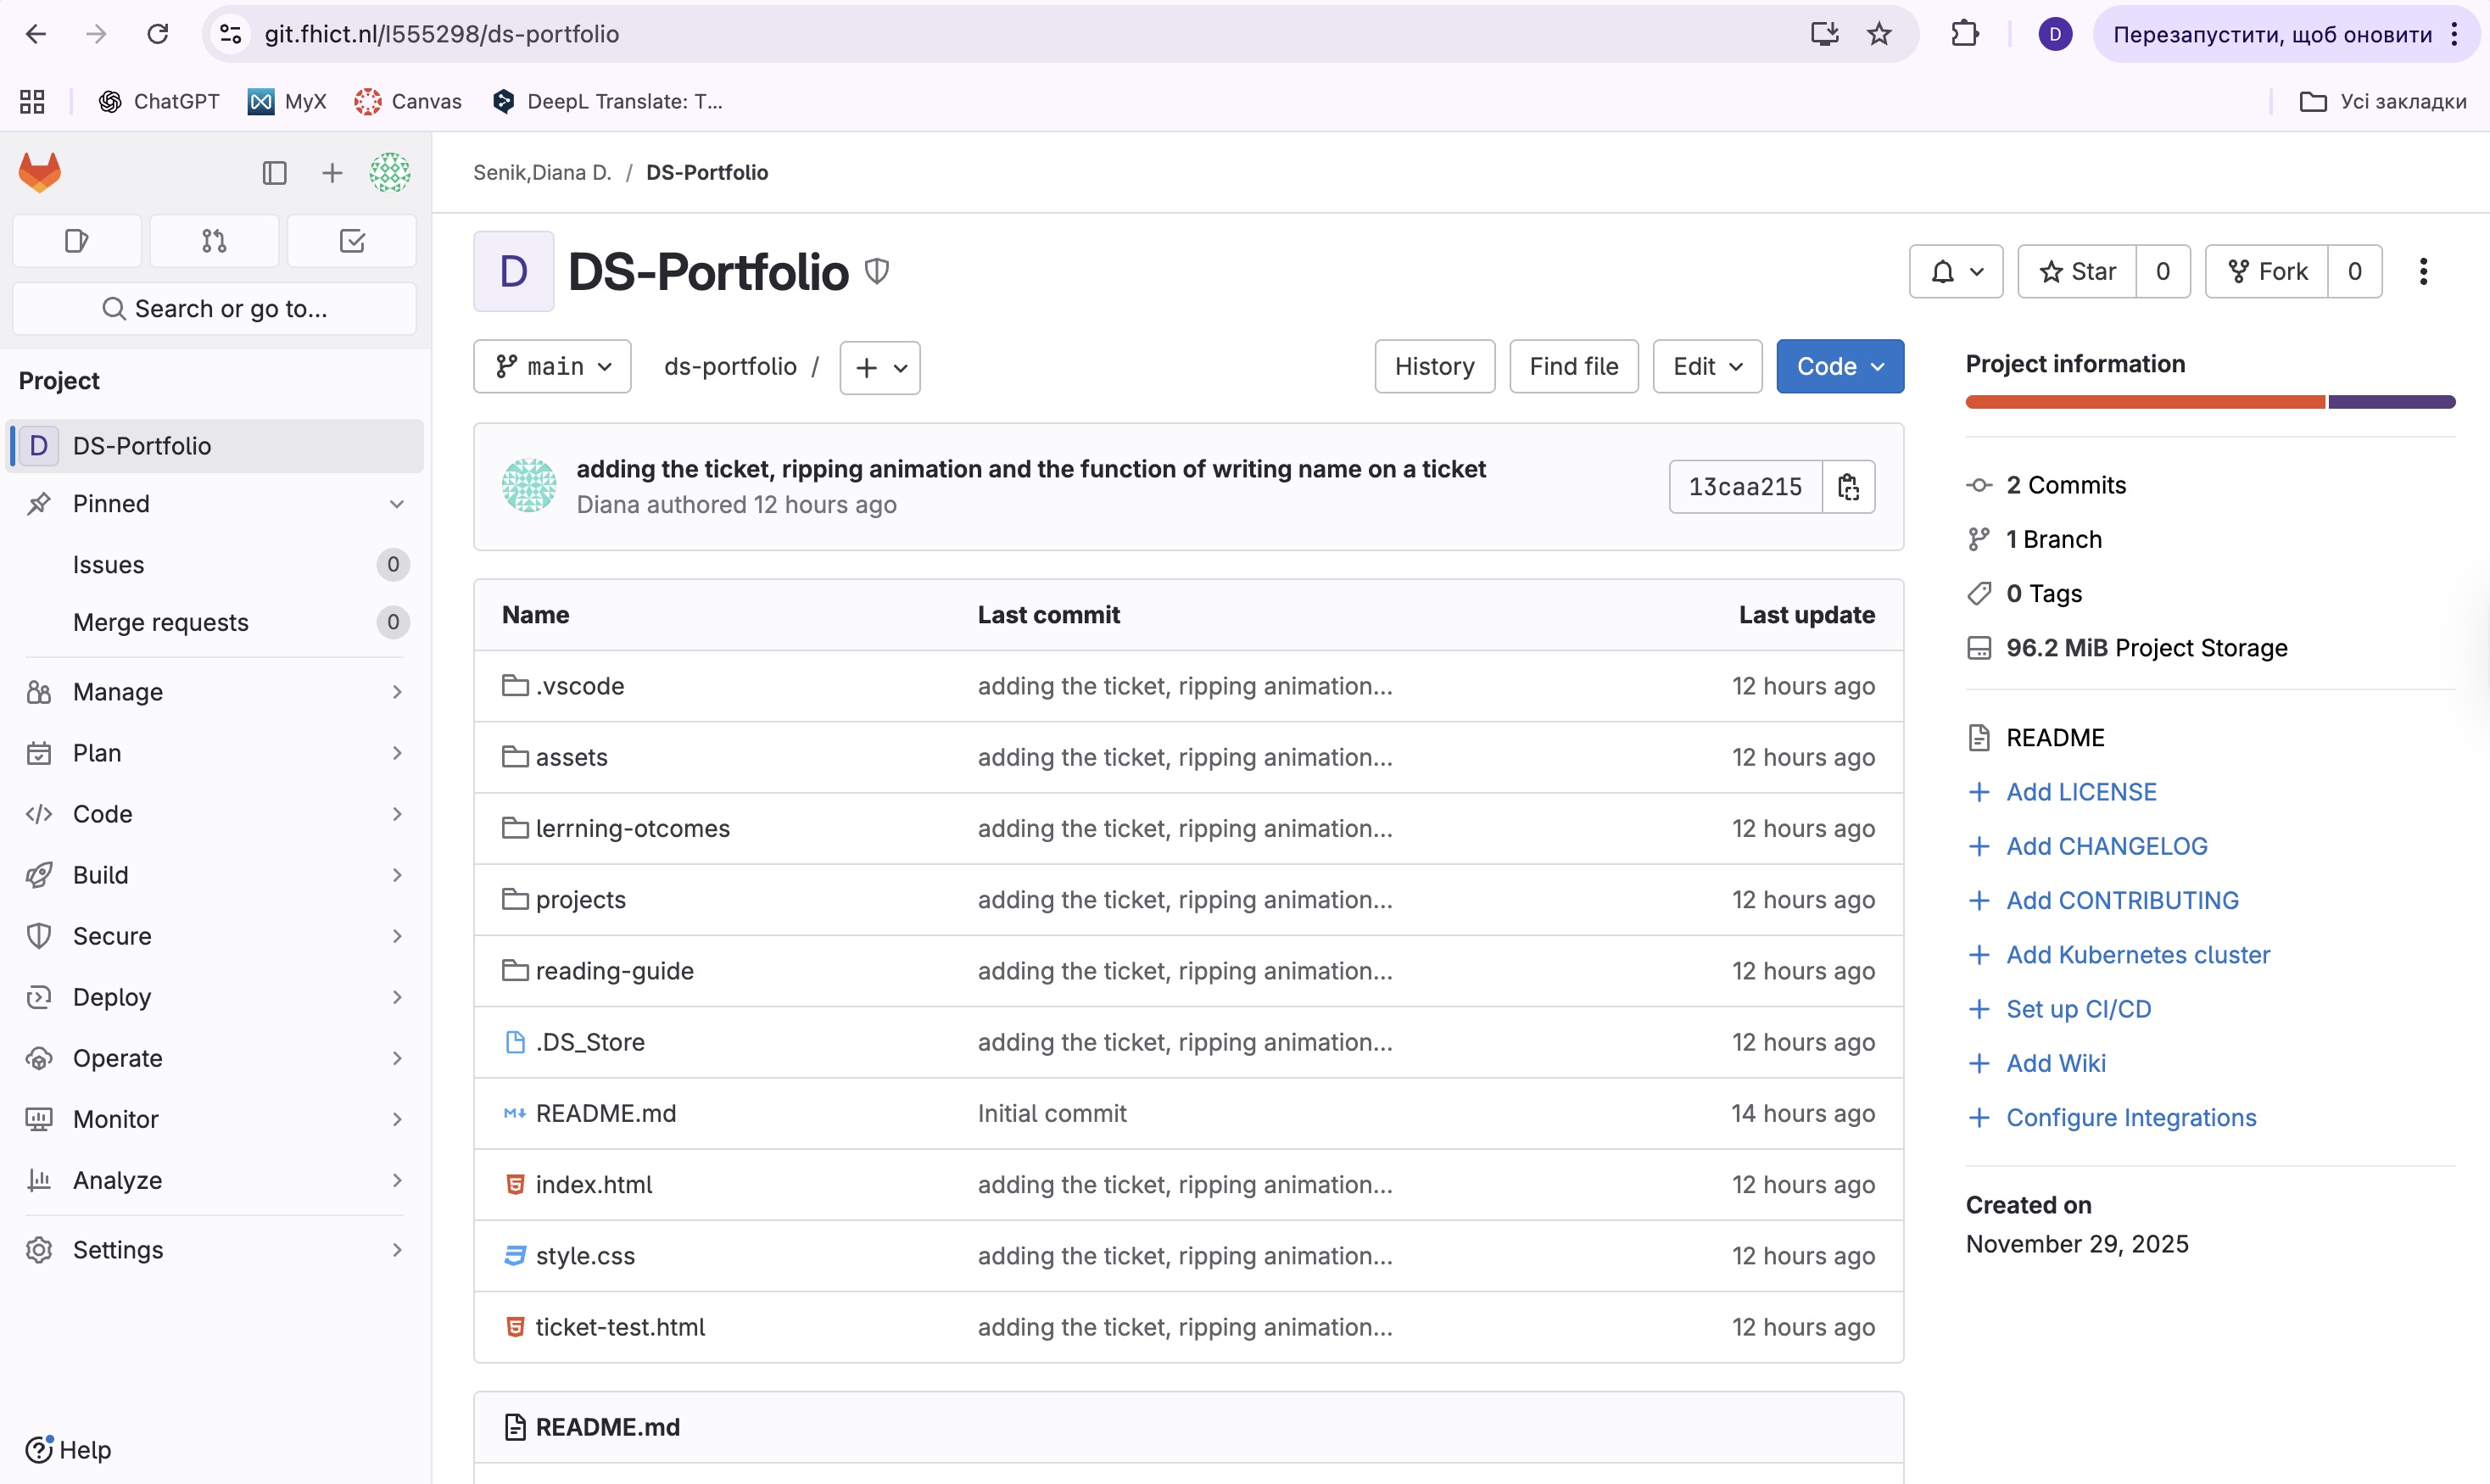
I created a GitLab repository to manage the development of my portfolio website. Every time I made updates, I committed and pushed the changes. Using Git allowed me to track my progress and keep my workflow organized throughout the process.
Link to Git(https://git.fhict.nl/I555298/ds-portfolio.git )
How did it go
Version control helped me stay structured and confident while working. If something didn’t work, I could check my Git history and revert to earlier versions, which saved time and prevented mistakes from becoming permanent.
What did I learn
I learned how to use Git as a professional tool to document my development process, not just for backup, but to clearly see each step I’ve taken. It gave me a better understanding of how developers manage changes efficiently.
Retrospective
Next time, I’d write more detailed commit messages, so it’s easier to understand what each update includes. Keeping my GitLab organized makes it easier to explain my work to others or collaborate in the future.
Trelo
What did I do
Me and my group created a Trello board to organize our tasks and responsibilities. We used it to add new tasks, assign them to group members, and track progress. Every Monday, we planned the week together so everyone knew what to focus on.
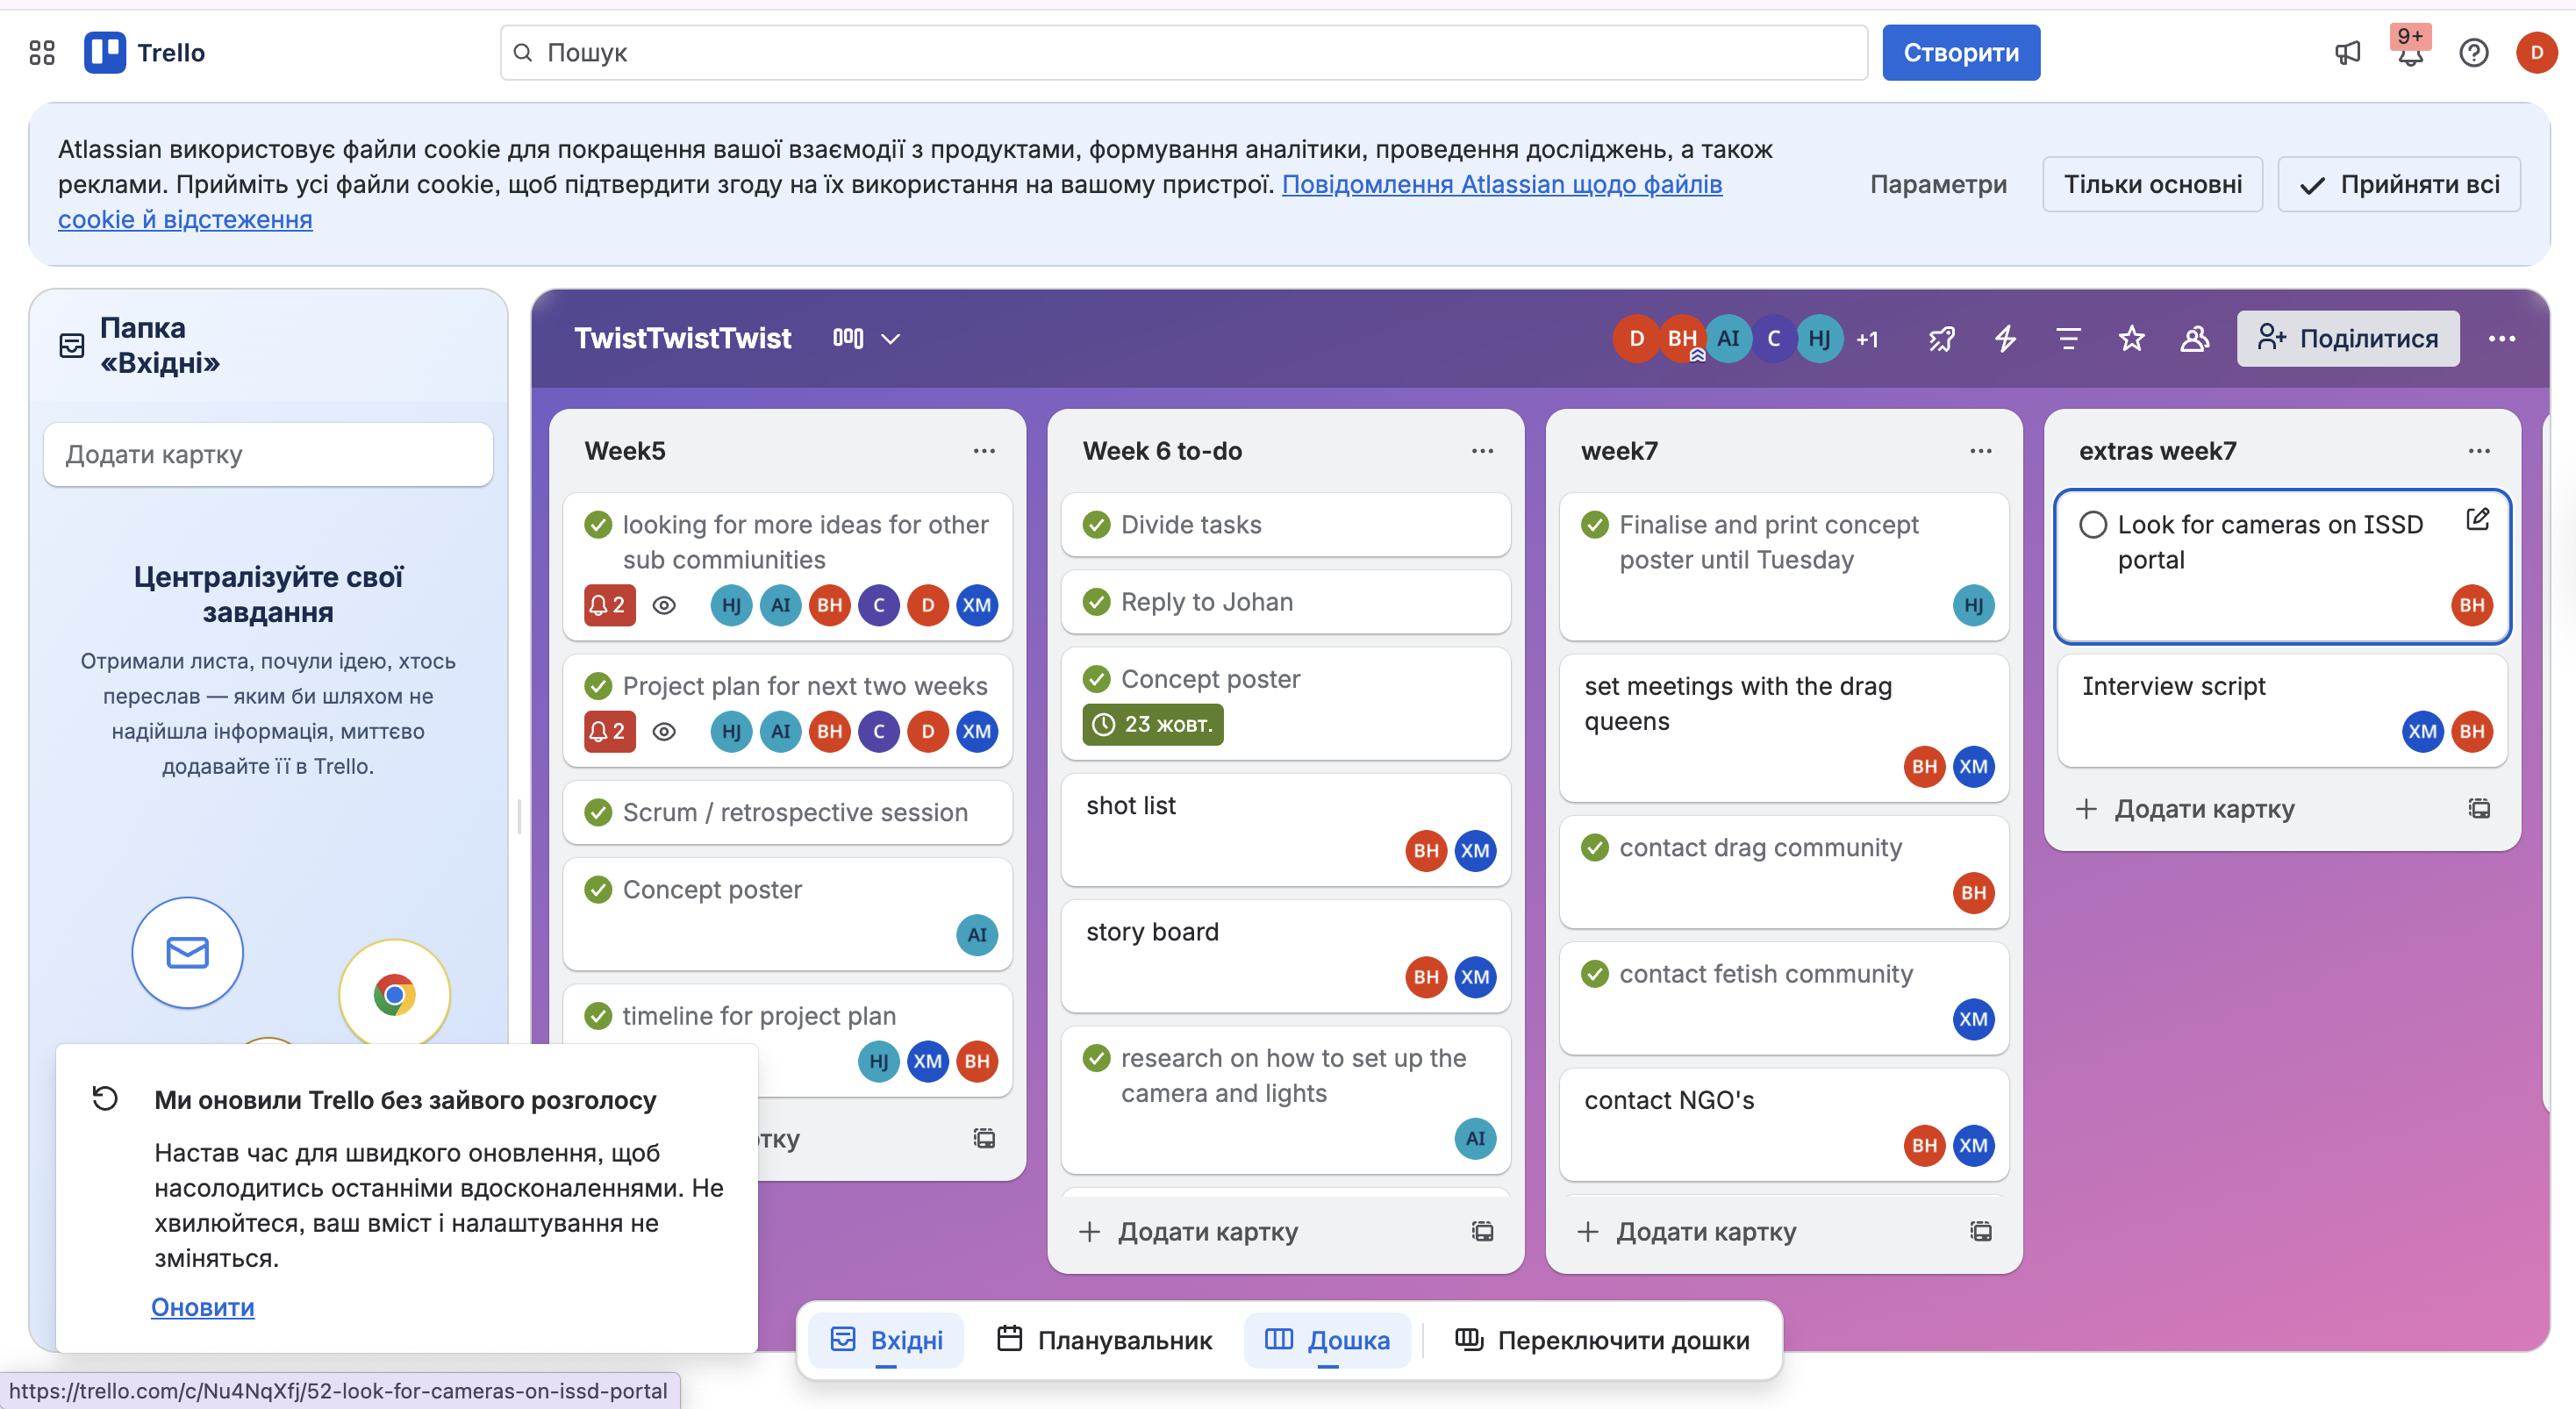
How did it go
The Trello board worked really well. It helped us stay organised and made it easy to see who was doing what. Weekly planning made sure no one was confused, and the teachers could also check our progress. It made our workflow much smoother.
What did I learn
I learned that clear task planning helps a group work more effectively. Using Trello made communication easier, and I now see how useful visual tools are for tracking progress and staying on the same page with a team.
Retrospective
Next time, I would add deadlines to the tasks to help manage time better. I’d also try using labels or categories to quickly see what type of task it is, so the board stays even more organised.
Storyboard for my video
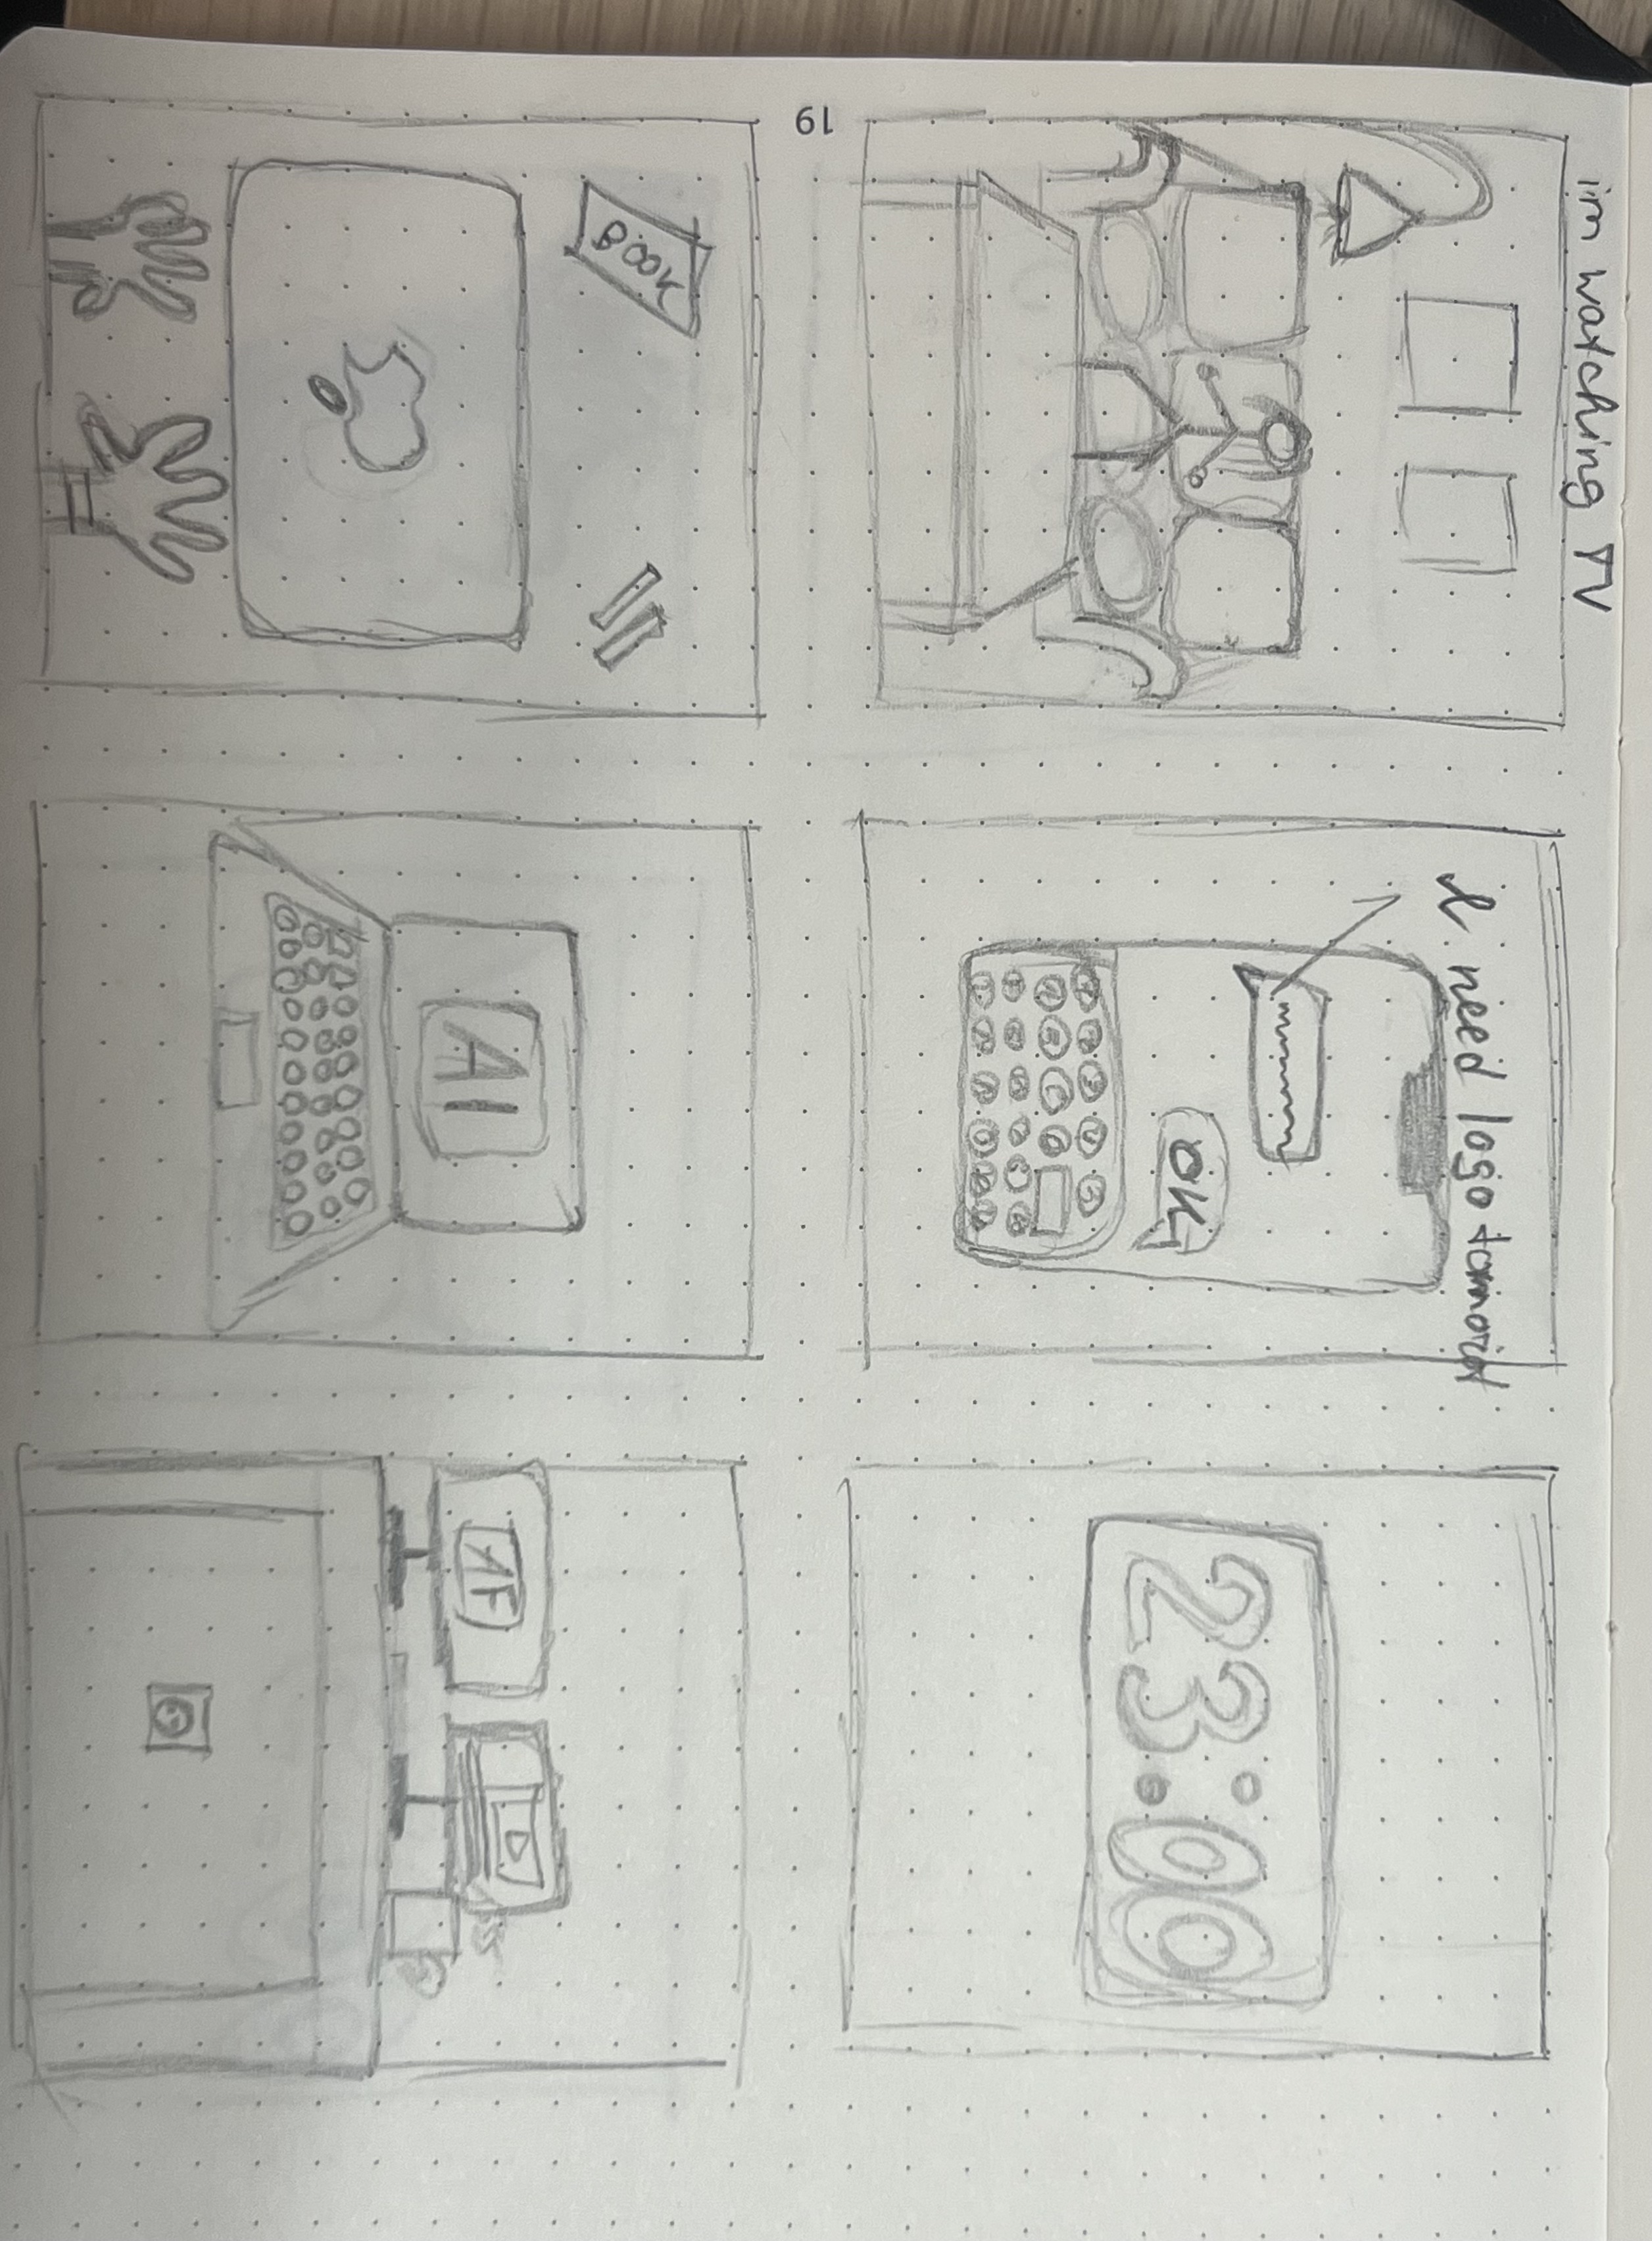
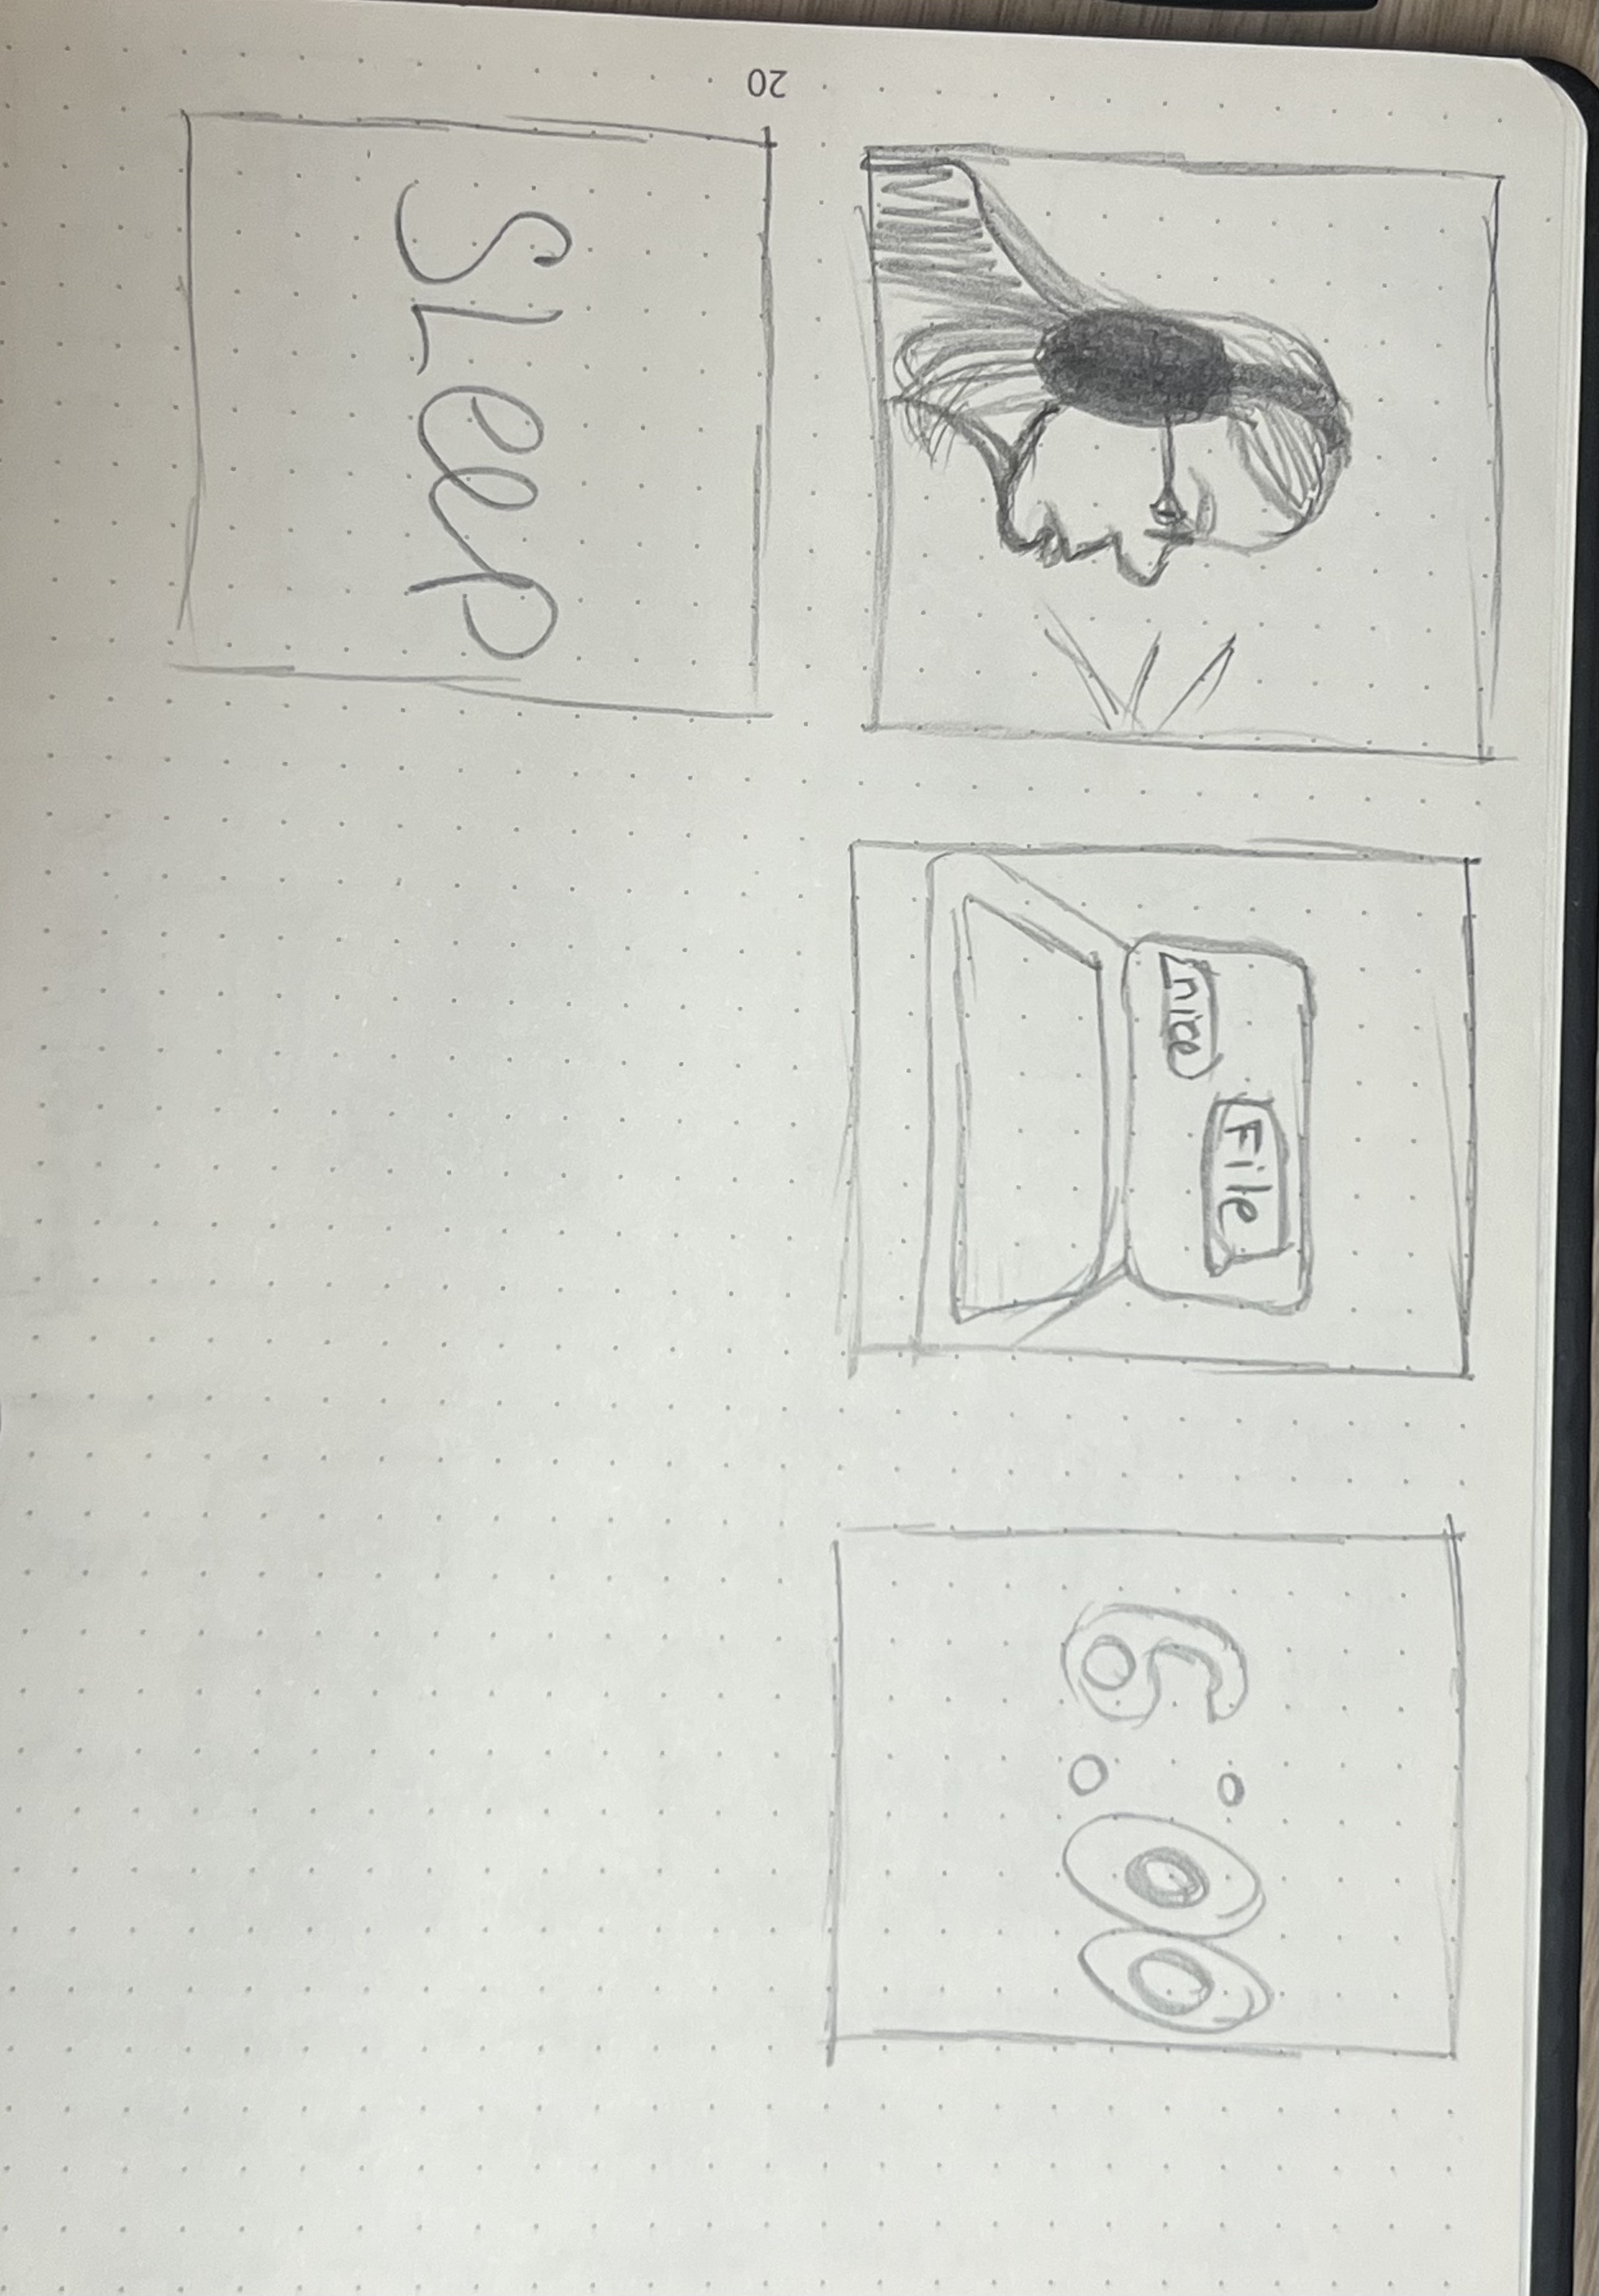
What did I do
I created a storyboard to plan the shots, angles, and overall structure for a portfolio video. First, I sketched out my ideas to visualize the flow. Later, I built a more detailed version using reference images from Pinterest to better communicate the mood and direction I was aiming for.

How did it go
The storyboard helped me clearly communicate my concept and shot choices, making the production plan much easier to follow. Using reference photos added another layer of clarity, especially when sharing the idea visually. It also gave me a better grip on how to turn creative ideas into a structured plan.
What did I learn
I learned that visual documentation, like storyboards, really supports the planning and communication process. It helped me stay organised, and I could easily explain my creative direction to others if needed.
Retrospective
Next time, I’d add notes or short descriptions under each frame to explain the mood or action more clearly. That would make it easier for someone else to understand the full idea just by looking at the storyboard.
Storyboard for animated logo
What did I do
Before animating the logo, I created a clear and colourful storyboard to guide the animation process. I used the existing Eindhoven Pride logo from their Instagram and added detailed explanations to each frame, making the storyboard easy to follow and ready to share with the client or other designers.
How did it go
The storyboard worked as both a planning tool and a communication tool. It helped me stay focused during animation and made it easy to present my idea to the client. It’s also useful for future updates, as another designer could follow the same storyboard without confusion.
What did I learn
I learned that well-organized visual documentation can make production smoother and more collaborative. By explaining each step in the storyboard, I made sure the design was understandable not only for myself but also for others who may work on it later.
Retrospective
In the future, I would ask client for feedback on the storyboard before starting the animation. This would make sure the client agrees with the direction early on, and it would save time if any changes are needed.
Shot list + Storyboard for Non-Profit organisation
What did I do
Before filming the interview with the non-profit organization, I created a shot list to guide our production. I started by listing the equipment we planned to use and noted some possible camera angles. The next day, my groupmate completed the storyboard with "Need" and "Would be nice" shots, and I combined the storyboard with the shot list to make it more visual and easier to follow for the team.
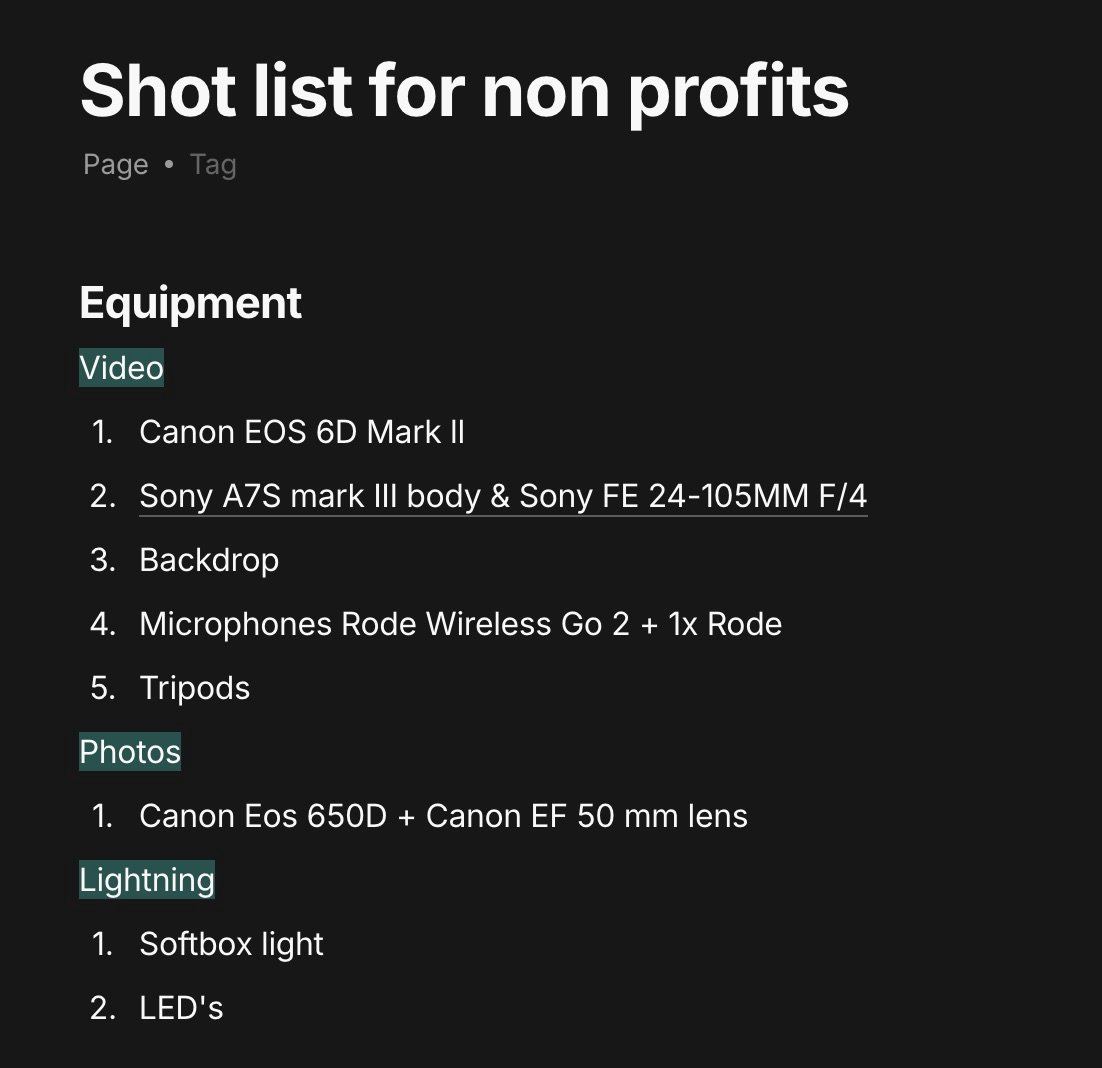
How did it go
This preparation helped us stay organized during filming. Merging the shot list with the storyboard made the plan easier to follow and ensured we didn't miss important shots. It also helped us communicate our vision more effectively within the group.
Complete Storyboard(made with Bianka) here
What did I learn
I learned how to translate a production plan into clear documentation that supports team coordination. The process showed me the importance of combining visual and written materials to align expectations before the shoot.
Retrospective
Next time, I’d start the shot list and storyboard earlier to give the team more time to review and suggest changes. I’d also organize the documents more visually, so it’s quicker to understand during filming. Better preparation means smoother collaboration on set.
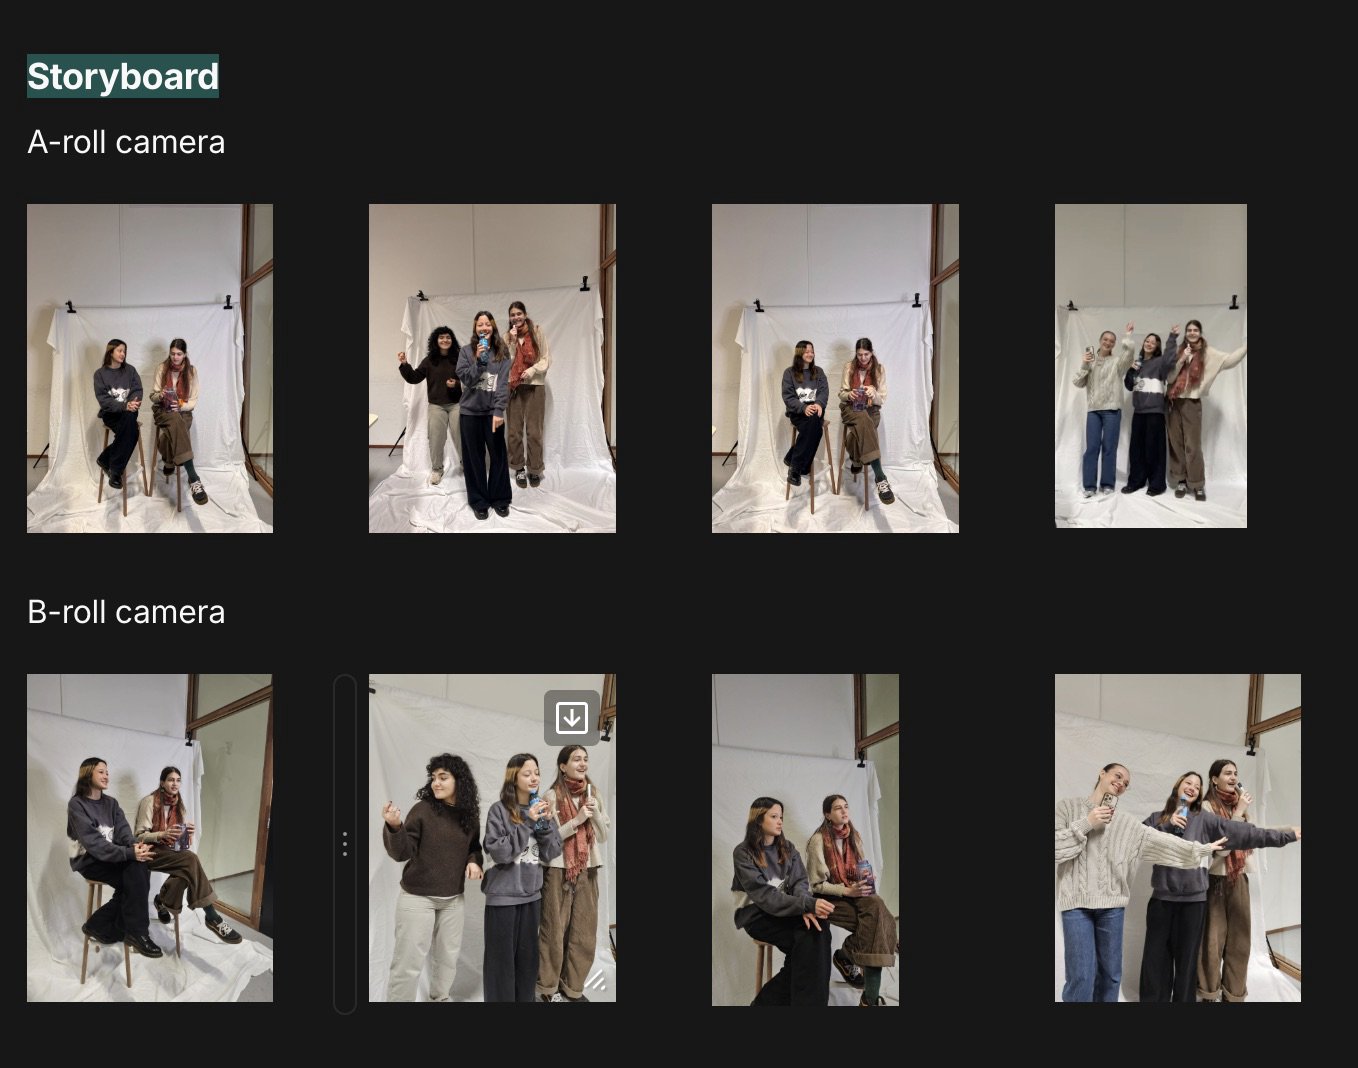
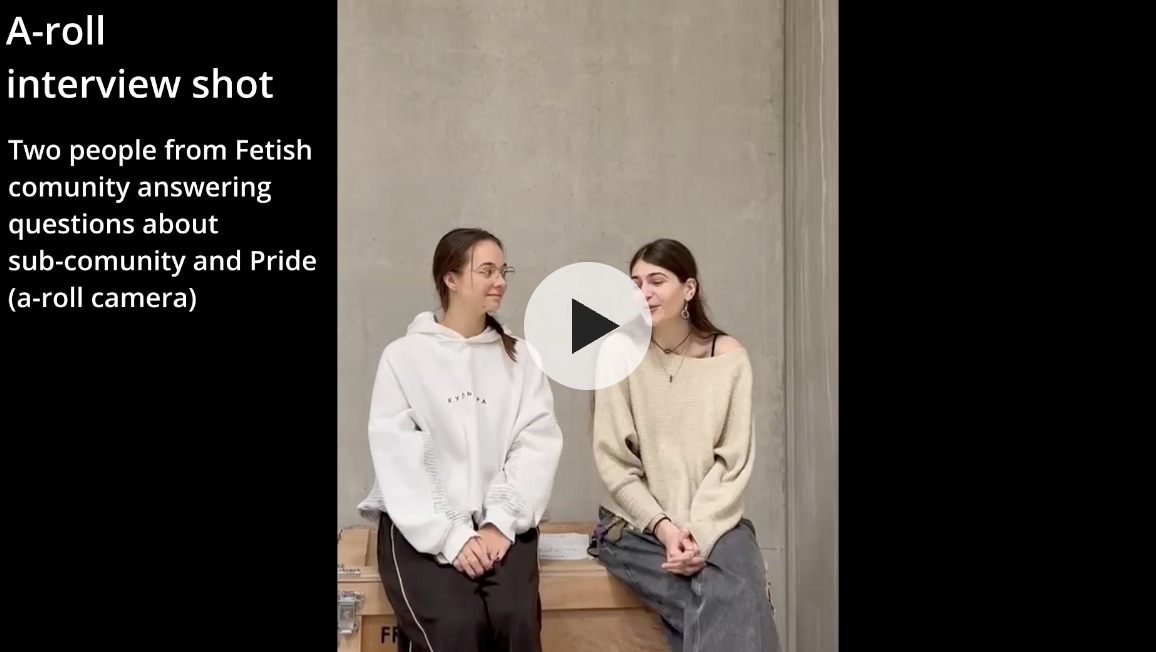
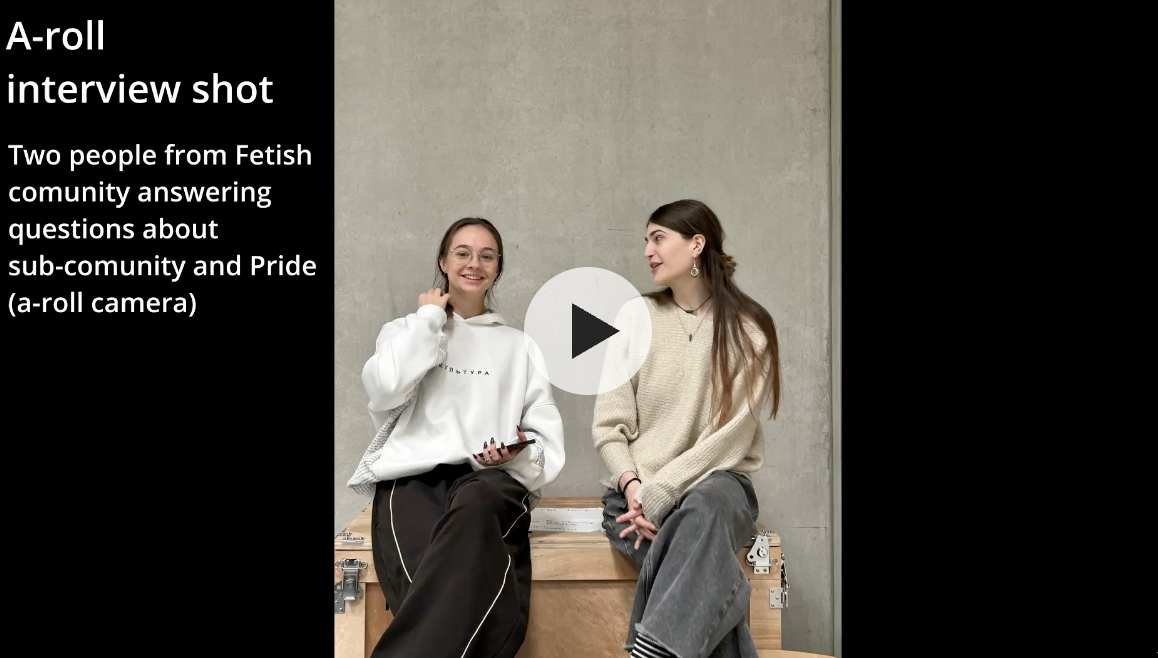
Storyboard for fetish
What did I do
To help others understand our idea clearly, my group and I filmed some example shots based on what we planned to create. I then made a storyboard that included a timeline and short explanations for each scene. This made it easy to share with the Fetish organization so they could see exactly what we planned to film.
How did it go
The storyboard worked well as a communication tool. It helped our team and our client understand the structure, style, and meaning of our video. The simple format made it clear and easy to follow, even for people who are not part of a film team.
What did I learn
I learned that clear and simple documentation is very useful when working with others outside the team. The storyboard was not only helpful for planning but also for making sure everyone involved had the same understanding of the project.
Retrospective
Next time, I would try to include more examples or images to make the storyboard even easier to understand. This would improve how we explain creative ideas to different people and make the production process smoother.